Yoshi is a fictional dinosaur character in the Super Mario Brothers game by Nintendo. If you like to draw him, this is a free tutorial of how to draw Yoshi.
Yoshi is a friend and ally to Mario and Luigi. He debuted in Super Mario World in 1990 as a sidekick to Mario and Luigi.
He is extremely grateful and loyal to Mario as Mario saved him from being trapped in an egg.
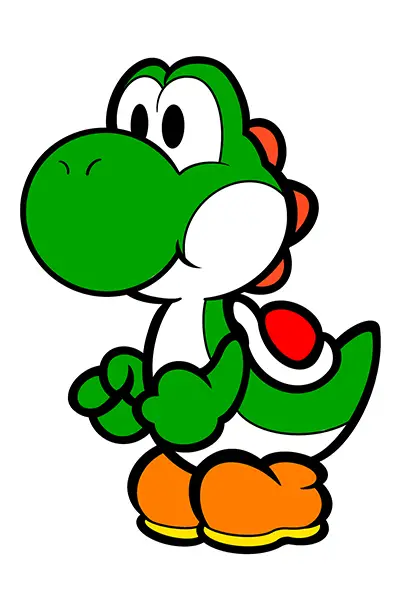
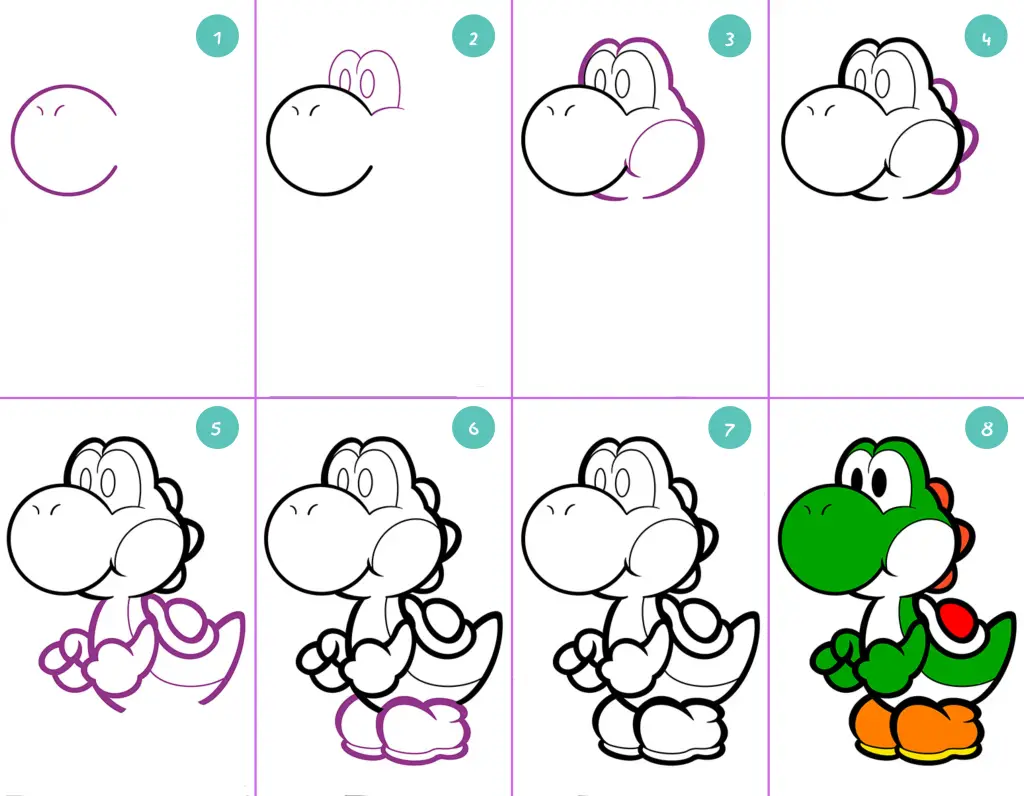
This is a step-by-step process on how to draw Yoshi from Super Mario Brothers.
How to Draw Yoshi Step 1 – Snout

Let us begin our drawing of Yoshi with his snout.
Draw a circle with a gap on the right portion just like what is shown in the picture above.
Then put 2 curve small lines opposite each other at the upper portion of the snout and that will be Yoshi’s nose.
How to Draw Yoshi Step 2 – Eyes
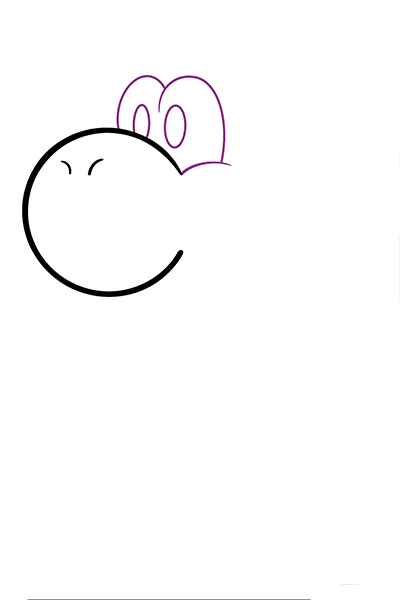
Next is Yoshi’s eyes. Make a slight curve line at the upper gap of the circle you make in the earlier step.
Then make two small circles on the upper right side of the snout.
Make two semi-circles on top of the two small circles to draw Yoshi’s brows.
That’s it for this step.
How to Draw Yoshi Step 3 – Head
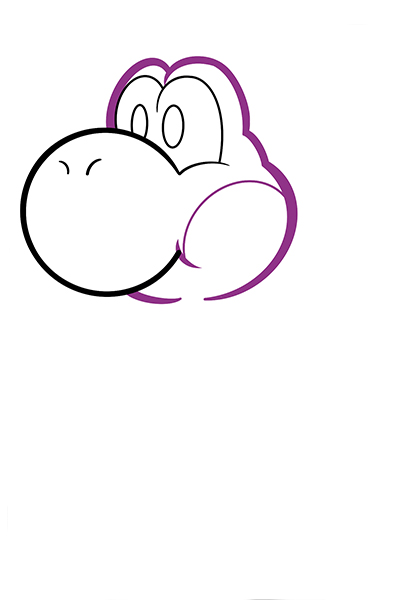
Now is the time to complete Yoshi’s head.
Make a curved line following the curve of Yoshi’s eyes.
Follow making a line for the back of his head.
Then make a semi-circle at the lower right of his snount to make the mouth.
Underneath the lower right part of the snout, make a big inverted semi-circle to make Yoshi’s chin and neck.
How to Draw Yoshi Step 4 – Spikes at Back of the head
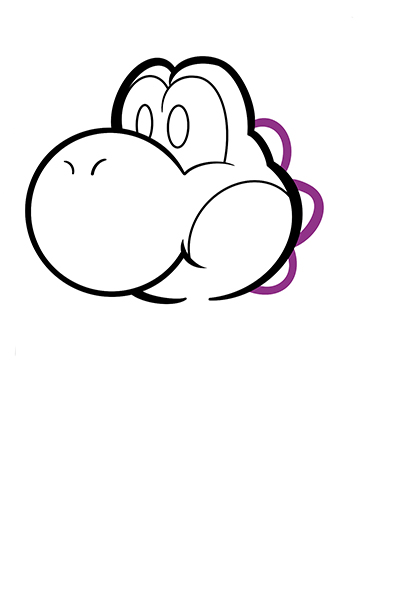
Now, make three curve lines at the back of his head.
We now have a lovely look of Yoshi’s head, with his face and spikes at the back of his head.
How to Draw Yoshi Step 5 – Body and hands
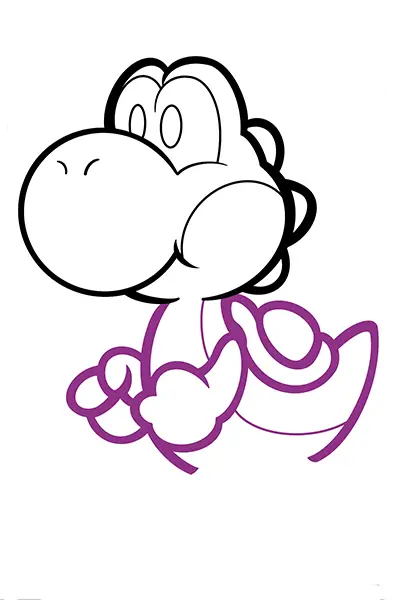
For this step, we are going to draw Yoshi’s body , arms and hands.
Make a symmetrical curve line for the main body of Yoshi. Then make a half oblong line and a small oblong shape on top of it.
Draw the left arm and then the left hand. Then draw the right hand similar to the left as you do not need to draw the right arm for this drawing because it is covered by the body.
How to Draw Yoshi Step 6-Shoes
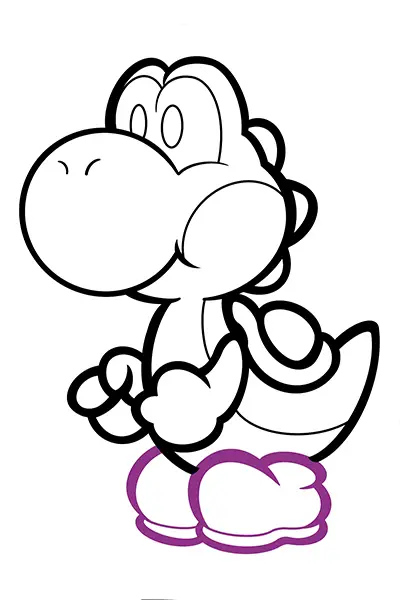
The next step for this yoshi drawing is the shoes.
Make two curve lines for the right shoes. Add another small curve line for the hills portion of the shoes. Then draw the wedge of the shoes.
Draw another curve line for the right shoes. Then add the wedge which is just half of the right shoes.
This drawing is done.
How to Draw Yoshi Step 7- Final Drawing
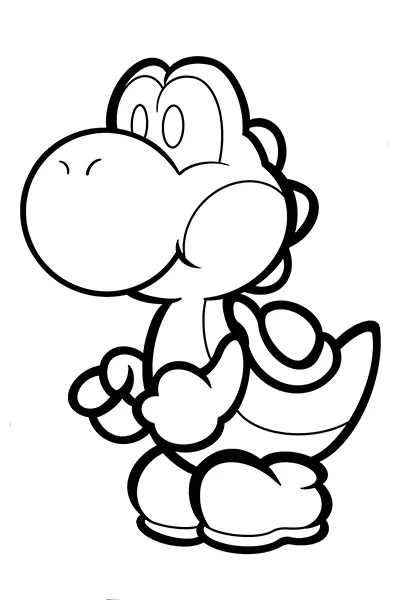
This is the final drawing of Yoshi.
Yoshi looks lovely on this drawing.
How to Draw Yoshi Step 8 – Coloring Yoshi

This is the most fun part of drawing Yoshi – coloring.
Coloring Yoshi is exciting. If you follow Yoshi’s color, his body including his face is green. Leave his face and chest just white.
The spikes at the back of his head is colored orange. The shell at his back is colored red.
The shoes is colored orange, but it is a paler shade of orange compared to the spikes at the back of his head.
Summy on How to Draw Yoshi
If you like to learn how to draw Mario, check out this post.

